Pumpkin Carving for the Entire Family!
The sun is setting… the leaves are yellow and falling… the air is nice and crisp… it’s officially Fall! And nothing screams fall like a pumpkin carving gathering. Whether you celebrate Halloween or not, carving pumpkins is a great way of get the family together and enjoy some craft-making. Before you start carving your pumpkin, make sure you have all the necessary tools ready to go:
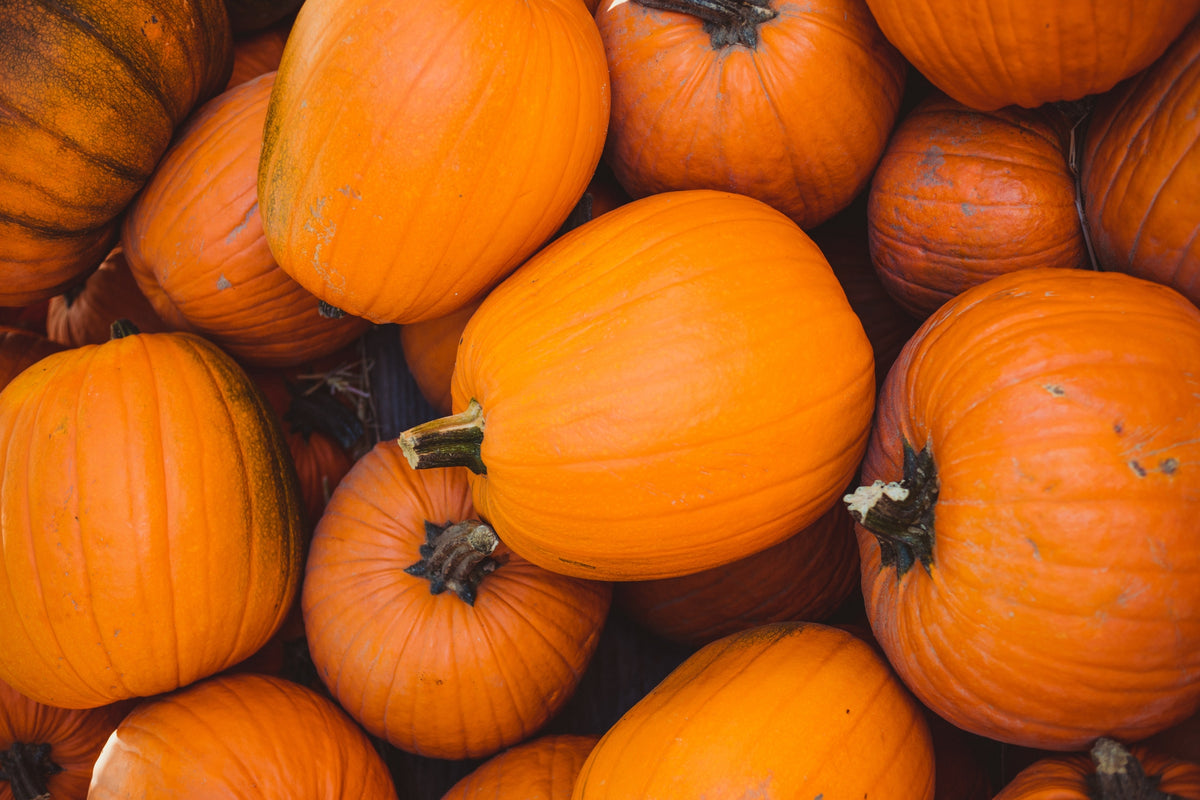
- A pumpkin (of course!)
- Tip: The bigger the pumpkin, the more prep… BUT, the more room to let your creativity roam
- Old newspaper or magazines
- A permanent marker like Sharpie
- Carving tools including small handy knives, small saws, and small awls
- Two medium (or large) bowls (You’ll use these to dispose your seeds and pumpkin guts)
- Kitchen towel to clean up any messy hands
- Sewing pins, paper clips, or safety pins (optional)
1. Prep time!
Now that you have all your materials, it’s time to get your work station ready! Use the old newspaper and magazines and spread them over a sturdy large table. Inspect your pumpkin and determine what side would be easiest to unveil any hidden artistic talent.
2. Start designing.
Go ahead and draw the design you want to carve out using a sharpie marker! You can also print, cut, and trace any of the following stencils:
- Ghost
- Pirate Ship
- Frankenstein
- Butterflies
- Soccer Ball
- Happy Face
When using your stencils, we suggest using either sewing pins, paper clips or safety pins to secure your stencil is in place while you carve around it.
3. Cut the stem.
Next, you want to cut the pumpkin stem. Outline a circular lid around the stem (about 5-6 inches in diameter).
4. Bye bye pumpkin guts!
Now begins what some might argue is the best part… removing all the pumpkin guts from inside. Don’t be afraid to get dirty!! Start scooping out all of the pumpkin guts and placing them into one of your large empty bowls. Do this until there is nothing left inside the pumpkin.
- You can later remove all the pumpkin seeds from the guts and place them into the second bowl. Save them for yummy roasted pumpkin seeds!
5. Time to carve.
It’s time to carve! We suggest cleaning any residue from the surface of your pumpkin before getting started. Start carving along the edges of your design with your small handy knife. Take your time here because of course, you cannot rush perfection! Use your small saws and awls to touch up any small details.
6. Show off your art!
Once you are done carving, it’s time to show off your creation. Set your pumpkin in a location that will allow others to appreciate your masterpiece, like the front porch or kitchen table! 😊
